Shopping Cart

Your cart is currently empty.

MANIFOLDING SPRAY BOOTH DUCTWORK AND IMPROPER AIRFLOW

Spray booth exhaust ductwork

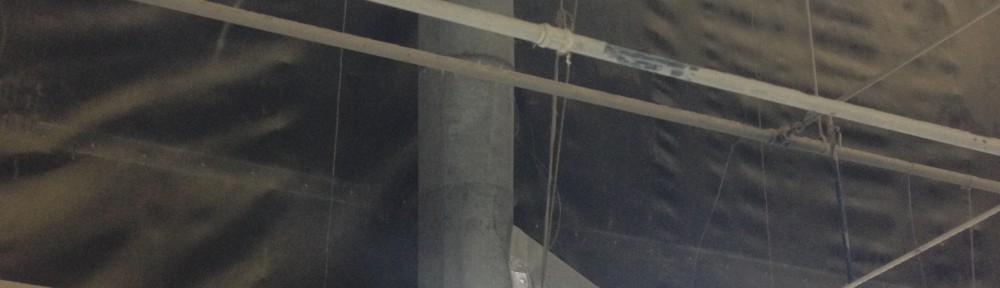
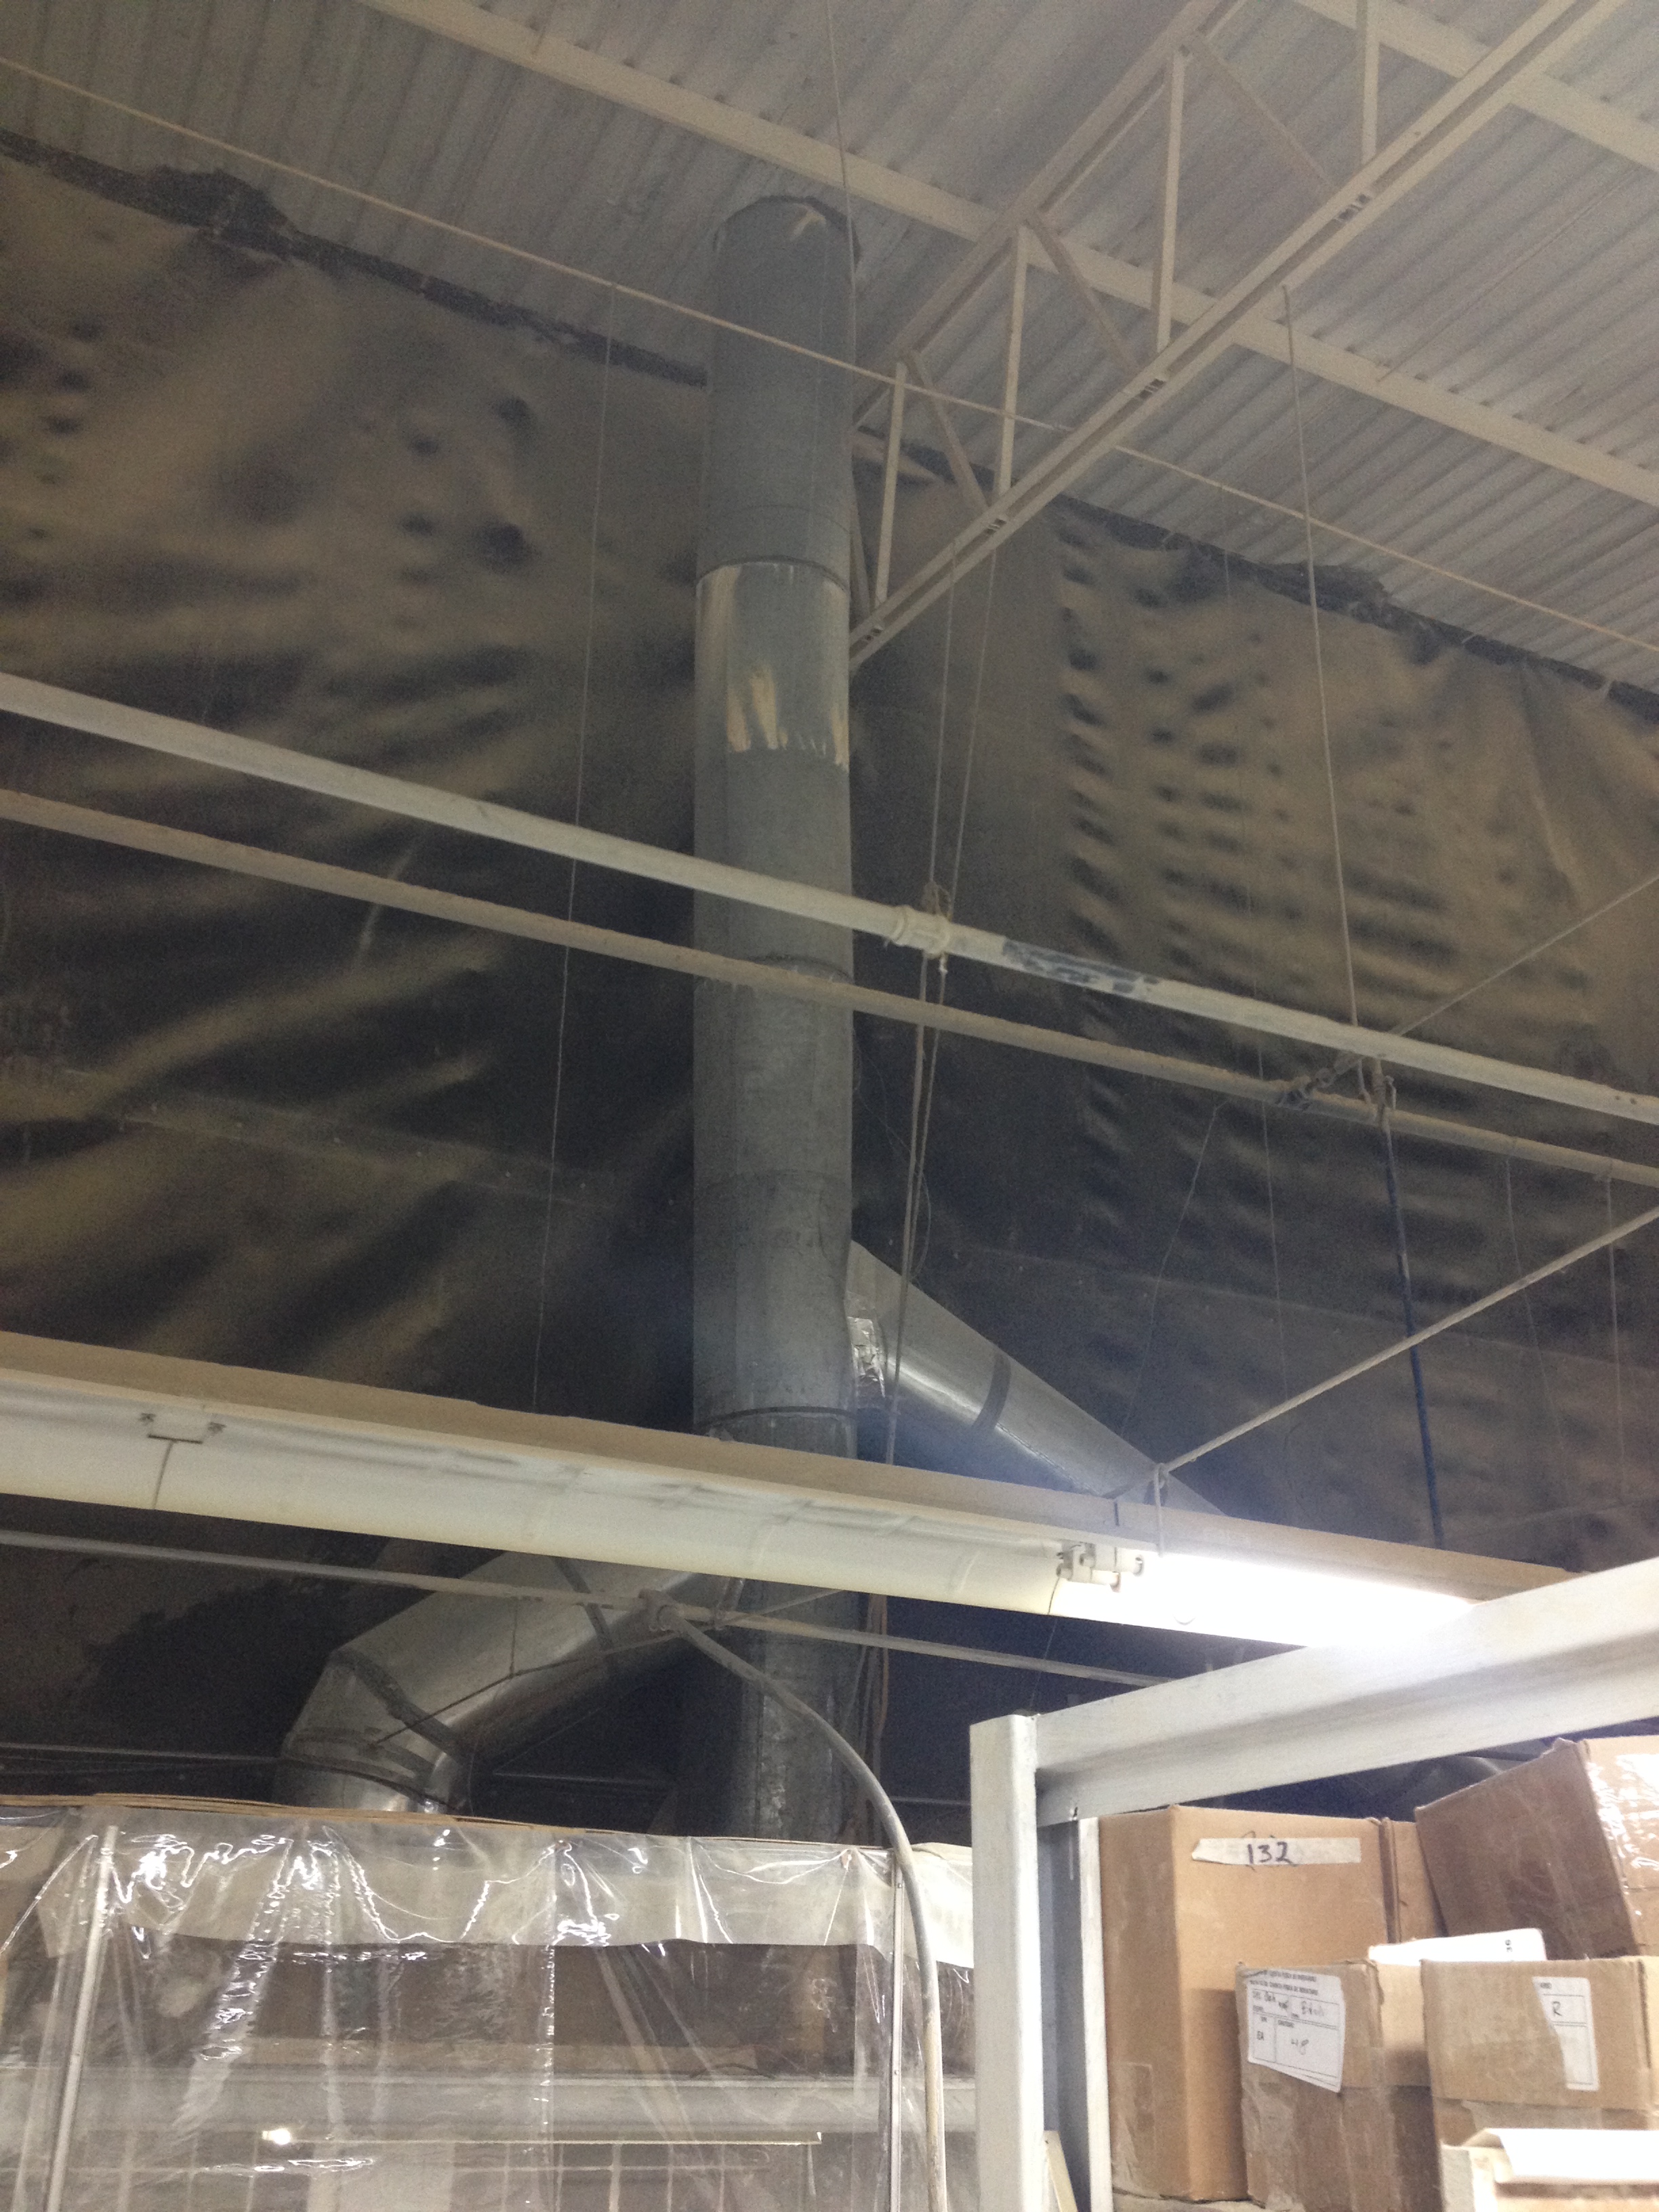
In this photo, an installer has chosen to manifold three spray booth exhaust duct runs. (A manifold is a pipe or chamber branching into several openings.)

This layout probably looked great on paper and reduced the number of roof penetrations from three to just one.

Reality is such as nasty teacher.   The static pressure (resistance to the flow of air) was greater in the top portion of the ductwork than in the spray booths.  The ductwork downstream from the manifold point (above the joints) should be much larger than what is in the photo.   The air ventilated out of one booth actually flows into its neighbor.

Our booths are designed to meet specific airflow needs and we design them with ductwork. The spray booths in the photo were designed to have individual exhaust ductwork runs; they were not installed according to the design or instructions provided by Standard Tools.

Manifolding of exhaust ductwork is allowed by NFPA-33 only if devices exist in the ductwork that detect improper airflow.  The static pressure within the spray booth will change as the overspray builds up in the exhaust filters and as the obstruction within the booth changes (based on size and shape of parts in the spray booth).  This can be very technical and overly-complex.  The simple rule, and what Standard Tools recommends, is no manifolding of exhaust ductwork.  Keeping ductwork simple is the least expensive and best performing strategy in the long run. We suggest that you install your booth, and your ductwork, according to our recommendations to ensure proper airflow within your booth.

How to Measure Your Roof’s Pitch

Finding your roof’s pitch is an important factor to know when you are ordering and planning your Exhaust kits to go with your Standard Tools and Equipment Paint Booth. Here’s how you can find your roof pitch.

Things you’ll need:
• Ladder • Level • Tape Measure • Marker • Pencil • Paper

1. Measure 12-inches on the level & mark.

Mark the length with the marker. Many levels are equipped with a ruler on the side, but marking it will allow it to be more visible.

2. Climb up to the top of your roof.roof pitch

· Make sure the roof is not wet or icy. It is best to walk on a roof when the sun is out and morning dew has evaporated.
· Make sure the ladder does not damage the gutter or side of the roof.
· Ascend the roof. Crouch down or sit, as to minimize the potential for slipping. · You  can measure pitch from any spot.
· Pull out your tape measure about 1 foot or so.

3. Use your level to measure the roof run.

· While holding the tape measure with one hand, pick up the level with the other and place the bottom corner on the roof.
· Using the level’s corner as your pivot point, hold it parallel with the ground.
· Pivot it up or down until the horizontal vial’s bubble is between the two lines.

4. Measure the rise with the tape measure.

· Hold the level parallel to the ground and measure the distance from the roof’s surface to the level’s 12- inch mark.
· Make sure you rotate the tape so it is perpendicular to the level. Write down the rise.

5. Calculate the roof’s slope. 

The number you measured with the tape is the roof’s rise or pitch — the amount the roof’s height rises over 12 horizontal inches. For example, if you measured 3 inches, the roof’s ratio will be a 3:12 pitch. (See illustration).

Sign up to our newsletter & Receive Savings In Your Inbox

Sign Up

Copyright © 2024 Standard Tools and Equipment Co.. | Ecommerce Shopping Cart Software by Miva, Inc.